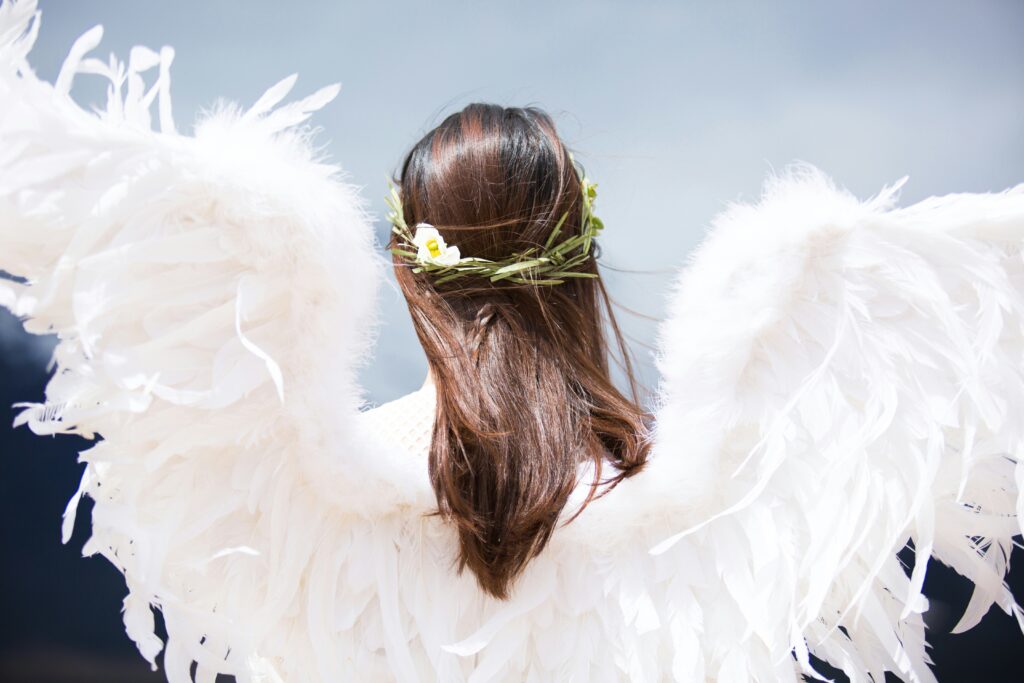
Dreams of flight and memories of Icarus: Making cosplay wings
Savannah Williamson, Contributing Writer
You are a modern day Icarus. Your materials are no longer wax and feather, but of plastic and foam. You’ve created a pair of wings that could make any flying beast jealous of the creativity of man. But how do you do that exactly?
There is an art in making cosplay wings. From deciding on what type of shape you want, to the materials you wish to use, there are endless possibilities of wings you can create.
Before wings, there was just cosplay. According to wikipedia.com, cosplay is “an activity and performance art in which participants called cosplayers wear costumes and fashion accessories to represent a specific character”. Cosplay was first introduced “at the World Science Fiction Convention (World Con) in 1939,” said Holly Swinyard.
As time went on, the thought of adding wings into cosplay was just a fledgling idea. The idea soon took flight, and today we have so many different options on what to create. From dragon wings to bird wings, the possibilities are limited by your mind. The basic principles and concepts still remain.
There are a few basic steps on how to make a pair of cosplay wings that can steal the show wherever you may go.
First, you need to make a plan as to what type of wings and ideas that you want to go for. That means gathering resources, doing research, and drawing out your plans for the wings you dream to create. Once your plans are finalized, you can confidentiality move onto step two.
In step two, you have to gather your materials. Grab anything and everything that you could ever possibly need in order to get your design from a dream on paper, to a stunning reality. You may need hot glue, paper and feathers to pvc plastic, screws and paint, nothing can be overlooked. Once all of the materials you need are at your disposal, it is time to start building the basic framework for your pair of wings.
For a pair of wings, you have to design a frame that’s light enough for you to wear for long periods of time that can be attached to a harness.
“Different wings and different costumes are going to have different needs,” said HCC Cosplay. The most common material for a frame base is plastic pvc, and that can be found at any local Home Depot. Once your frame is designed, in any shape that you want it to be, you will have to choose a base. The base goes over the frame in order to provide a surface for the layers of plumage that you will put on later.
Choosing a base material for your wings can be difficult. The material you choose has to be sturdy enough to hold a little bit of weight, but not too rigid to flex and provide movement. This is why a lot of “wingsmiths” choose cardboard, old t-shirts, or EVA foam as a base. Cardboard is cheap and you can get it virtually anywhere. For old t-shirts, you can head to any thrift store and grab a few of them. But for EVA foam, you’ll have to be prepared to spend a significant amount of money, and you’ll have to find a specialty store that has it in stock.
After the frame and base have been built and fitted together, you’ll have to decide on what type of plumage you want to cover the wings. You can go traditional and buy synthetic feathers, or lean more into your own personality and use paper or isolon. All the materials are affordable, and lightweight.
When adding the plumage to the frame and base, it is important to start at the bottom and work your way up to the top. The “feathers” have to be laid down in layers, or else they won’t attach to the base. To attach the feathers to the base, you’ll need to remember what your base is made of and what you’re trying to attach to it. Cardboard, paper and old t-shirts work best with hot glue. EVA foam, isolon and synthetic feathers work best with contact cement or any non hot glue alternative.
Congratulations, your wings are built and assembled. But they look really boring. The final step that needs to be done is painting. It seems backwards painting wings after assembly, but it is to ensure you get the color gradient and coverage you want.
The most common options for painting are using spray paint, or buying an entire airbrushing kit and airbrushing the paint on. For your wallet’s sake, unless you make wings for a living, choose the spray paint. It’s cheaper and it comes in a wide variety of colors. Choose whatever color you desire, and start painting. Spray the surface of the feathers and make sure the feathers are coated evenly; and remember to spray underneath the feathers to make sure the whole feather is covered. Your wings look great. You’ve made something beautiful and cool. But there were hardships. More than likely you burned some fingers with hot glue, inhaled some spray paint fumes, or put the wings on backwards. Things happen, and you succeeded despite it all, to create a craft you can be proud of. You know how to make wings now, so why not let your imagination take flight?
